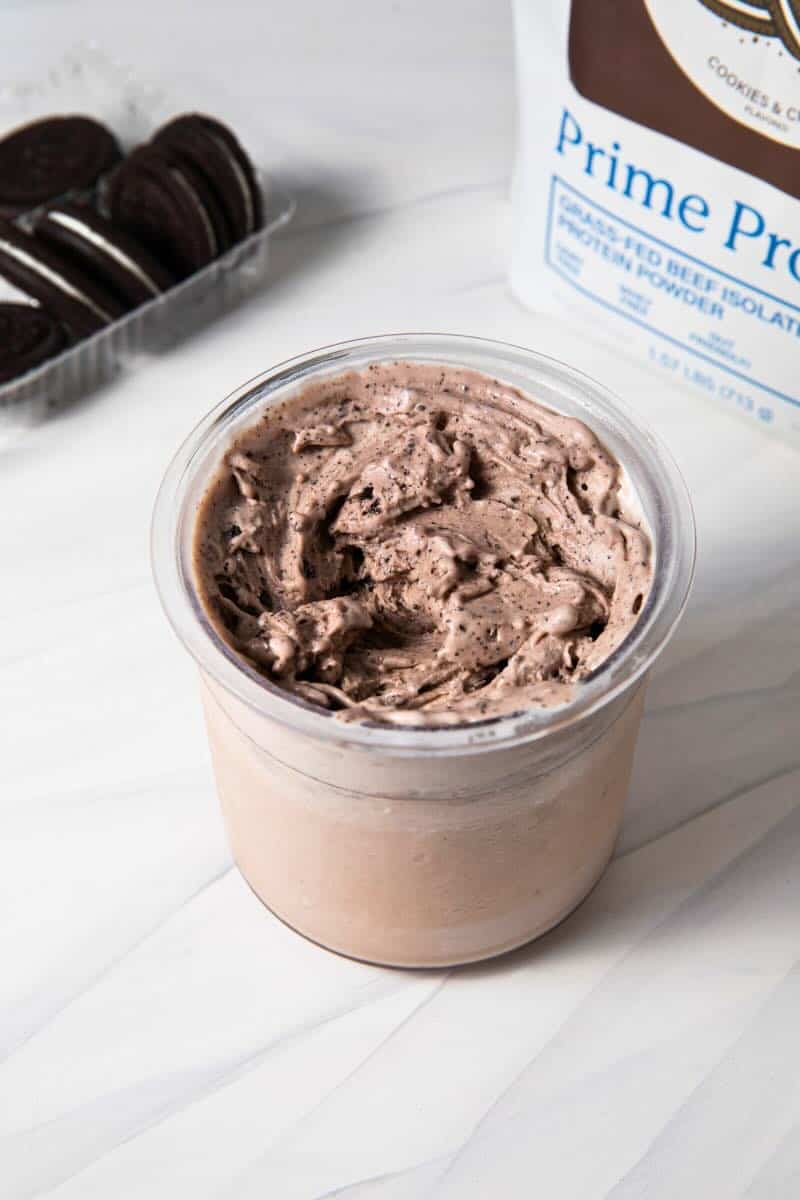
The next time you're craving Oreos or homemade ice cream, make this protein-packed dessert Ninja Creami Protein Dairy Free Oreo Cookies and Cream Ice Cream in your Ninja Creami! Made with just a few wholesome, simple ingredients and your favorite chocolate sandwich cookies, this recipe is the absolute perfect way to satisfy your sweet tooth with the Ninja Creami ice cream machine. This creamy dairy-free cookies and cream ice cream is so delicious you'd never know the base was gluten-free, refined sugar free and packed with protein!
The Ninja Creami creates ice cream with such a creamy texture, it's truly a dairy-free person's dream come true. No really! One thing I did make sure to do after getting myself the Ninja Creami ice cream maker was to stock up on more Ninja Creami pint container to make sure I was always ready to make my new favorite dairy-free dessert whenever the mood strikes; I have four different flavors currently in my freezer.
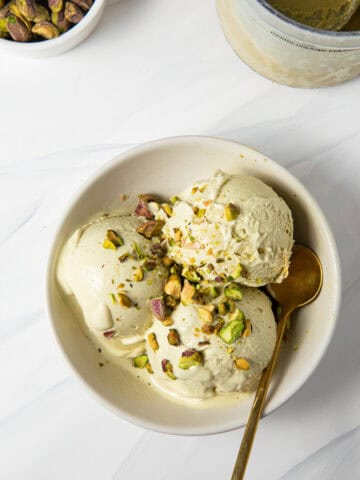
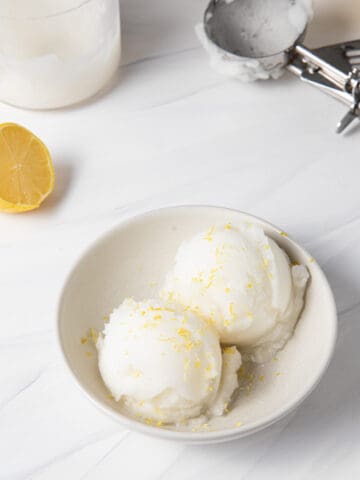
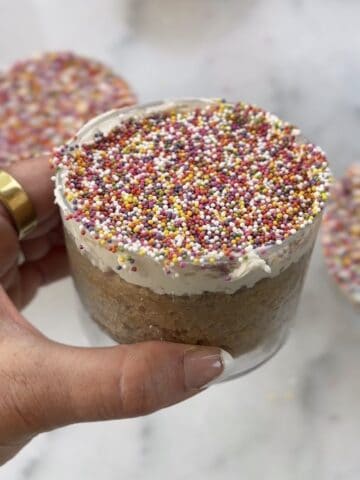
If you're a dairy-free ice cream lover like me, then you'll want to try some more of my favorite Ninja Creami recipes! Try more easy classic Ninja Creami ice cream flavors like Vanilla, Strawberry, Chocolate, Mint Chocolate Chip, or Coffee or enjoy fun flavors like this Strawberry Matcha Affogato, Apple Pie, Protein Buncha Crunch Ice Cream , Rocky Road, or make the Viral Cracking Latte by adding a scoop of dairy free vanilla ice cream! It would also be delicious on top of this 3 Ingredient Cake Mix Mug Cake!
Why You'll Love This Ninja Creami Oreo Ice Cream Recipe
- It has basic ingredients you already have in your pantry. This cookies and cream ice cream recipe is made with a few simple ingredients for the ice cream base plus the add-in of your favorite Oreos, it's a healthier way to enjoy decadent ice cream at home without having to go to the store when the ice cream craving hits.
- It is customizable. This recipe uses my favorite ice cream base recipe for all of my dairy-free Ninja Creami ice cream recipes, so you can easily swap the Oreos for a different add-in like Mint Oreos or other mint cookies, Nutter Butters or peanut butter cookies, Biscoff cookies, or whatever you have on hand! (Just double-check your cookies if you are strictly dairy-free or gluten-free).
- The base is both dairy free and gluten free. Of course, the ice cream base itself is dairy free and refined sugar free, too!
- It is delicious! Plus, this high protein dessert is so much more fun than a plain protein shake! It feels like I am eating ice cream, but hitting my protein goals and enjoying a sweet dessert all in one bite.
Please note this post contains affiliate links.

Ninja Creami Cookies and Cream Ice Cream Ingredients & Tested Substitutions
- Almond Milk. My preference is to use unsweetened almond milk; I like Califia Farms new 3 ingredient organic almond milk, however you may use sweetened almond milk, soy milk or your favorite dairy free milk if you like. You may also use unsweetened oat milk which will make a nice creamy ice cream.
- Full-fat Coconut Milk. I find the canned coconut milk that works the best has a little bit of guar gum, which is a plant-based thickener. Thai Kitchen and Whole Foods in house brand coconut milk are my personal favorites, but if you'd like to stay away from gums, Trader Joe's has a great option. I do not recommend using low fat coconut milk as it will make the ice cream base less creamy. NOTE: If you want to reduce calories, omit the coconut milk, and replace it with additional almond milk. It won't be as creamy but you will save on macros.
- Medjool Dates. For added natural sweetness in the base, I use Medjool dates. You may replace dates with 1-2 tablespoons of maple syrup instead if you do not have any on hand.
- Vanilla Bean Paste. To really amp up that sweet cream flavor to contrast the chocolate cookies, using vanilla bean paste is preferable. If you don't have those on hand, vanilla extract works just fine (just less intense of vanilla flavor if you do that).
- Cookies & Cream Protein Powder. It's important to note that you should enjoy the taste of your protein powder, or you won't enjoy the taste of this ice cream! If you don't have a protein powder you are loyal to, I recommend trying Equip Foods. My personal favorite is their grass fed beef isolate protein because it mixes super well and creates an incredibly creamy texture.
- Sea Salt. This is optional, but I always like to add a pinch of Celtic sea salt to the ice cream base. If you don't have sea salt, iodized salt works as well.
- Gluten Free Oreo Cookies. The star of the show! You can use classic Oreos, gluten-free Oreos, or Simple Mills sandwich cookies because they have cleaner ingredients and less sugar.
Ninja Creami Oreo Cookies and Cream Ice Cream Step by Step Instructions
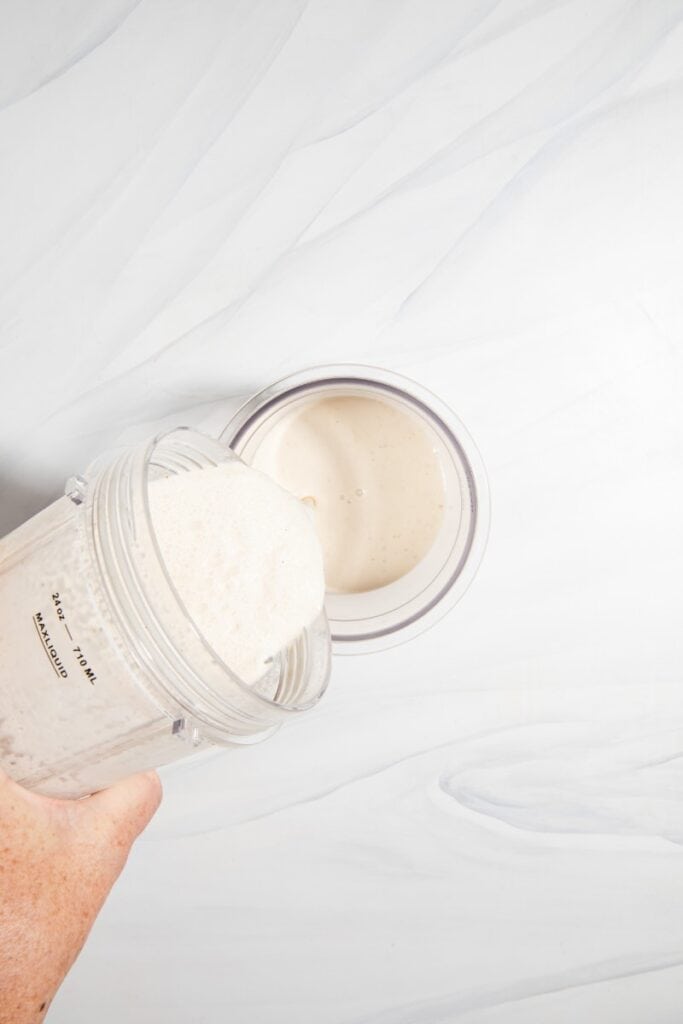
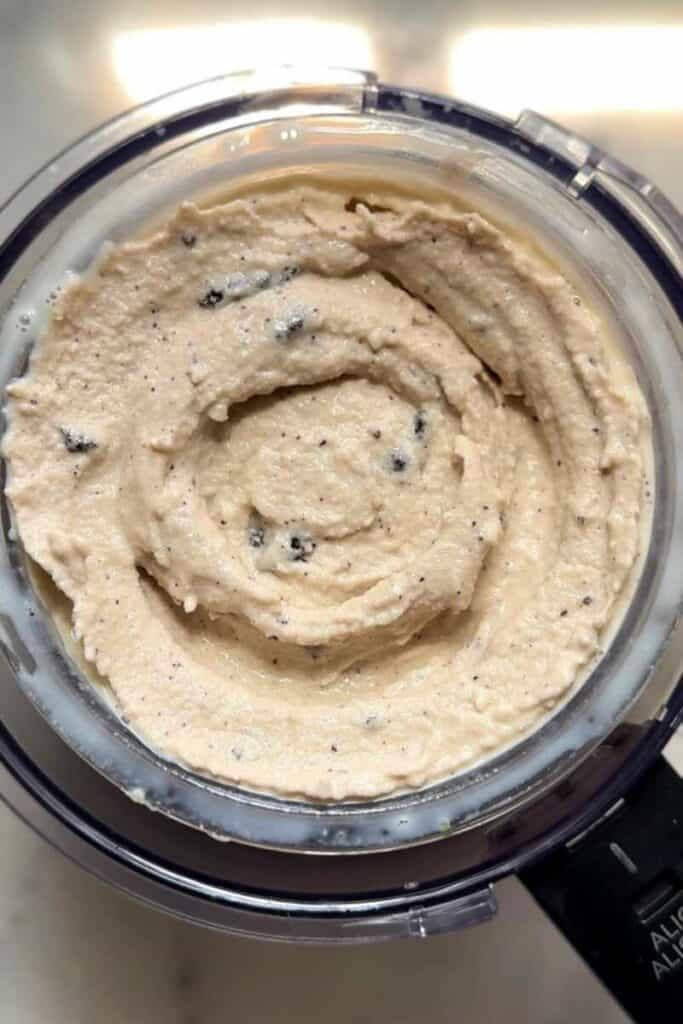
1. Make the ice cream base. Add the almond milk, coconut milk, dates, cookies and cream protein powder, vanilla, and sea salt to a blender. Blend until smooth. You may find that a few small bits of the dates remain if your blender is not high speed; this is okay. You can strain them out or leave them in, it's up to you.


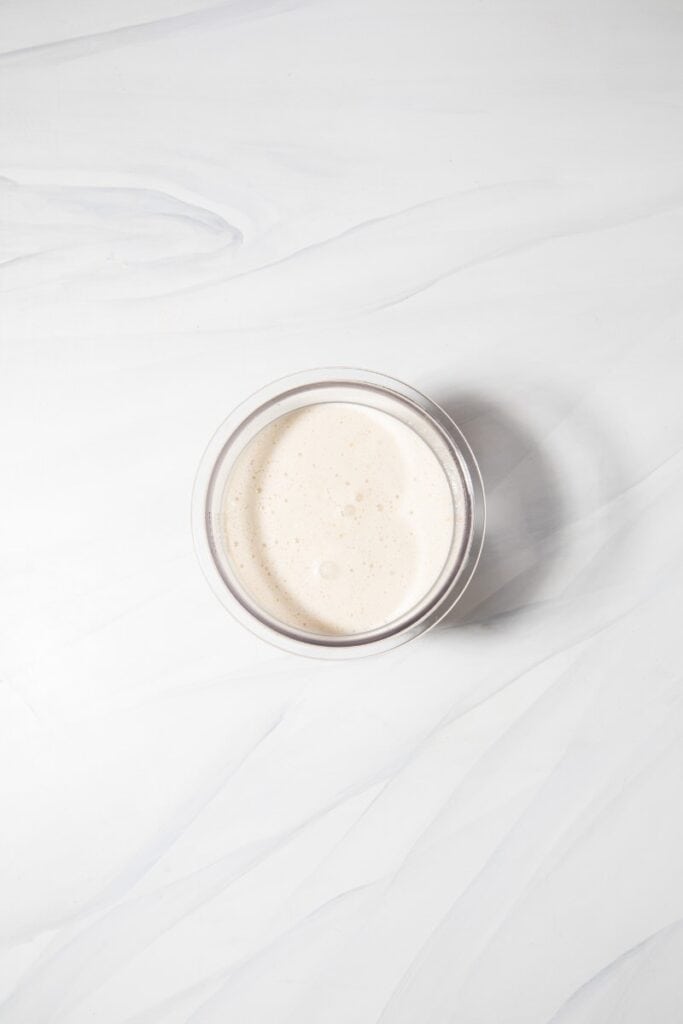
2. Freeze the ice cream base. Pour base into the ninja creami pint container right up to the max fill line. Place storage lid on the container and freeze for a minimum of 8 hours. Ninja recommends at least 24 hours, but I don't have that kind of patience and find that 8 hours is plenty.
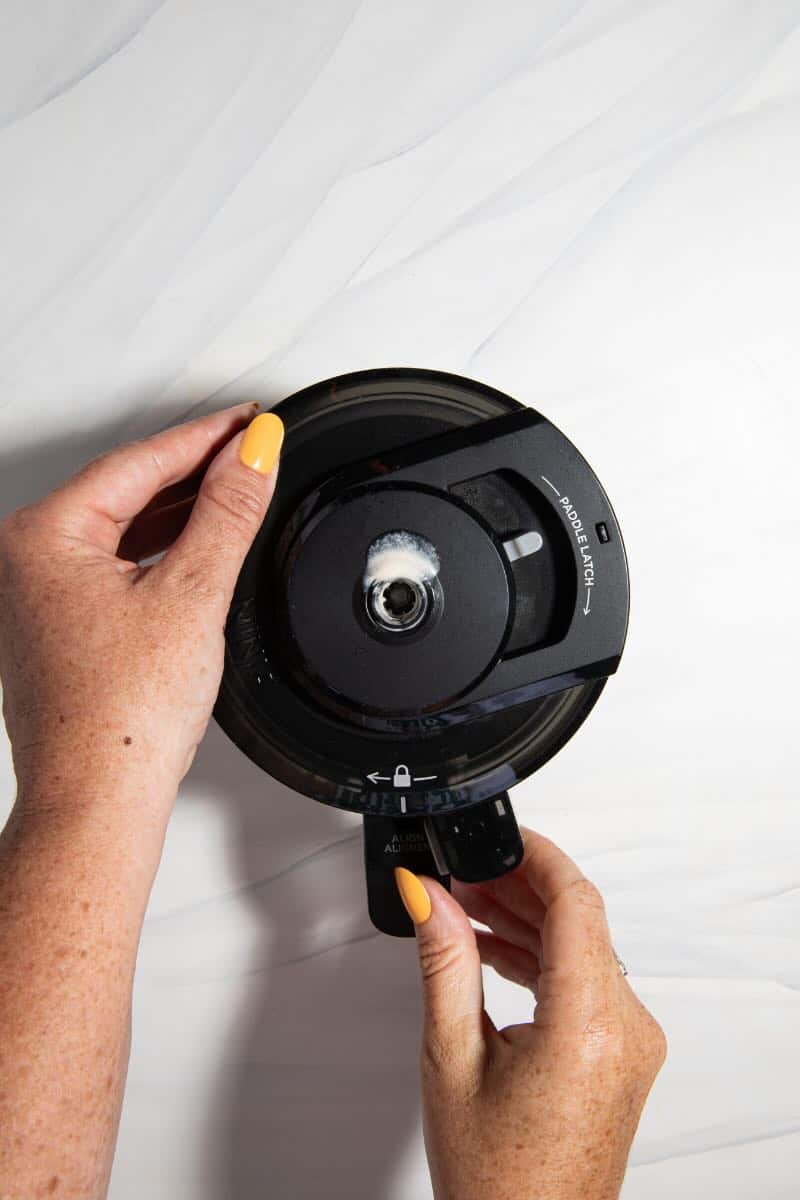
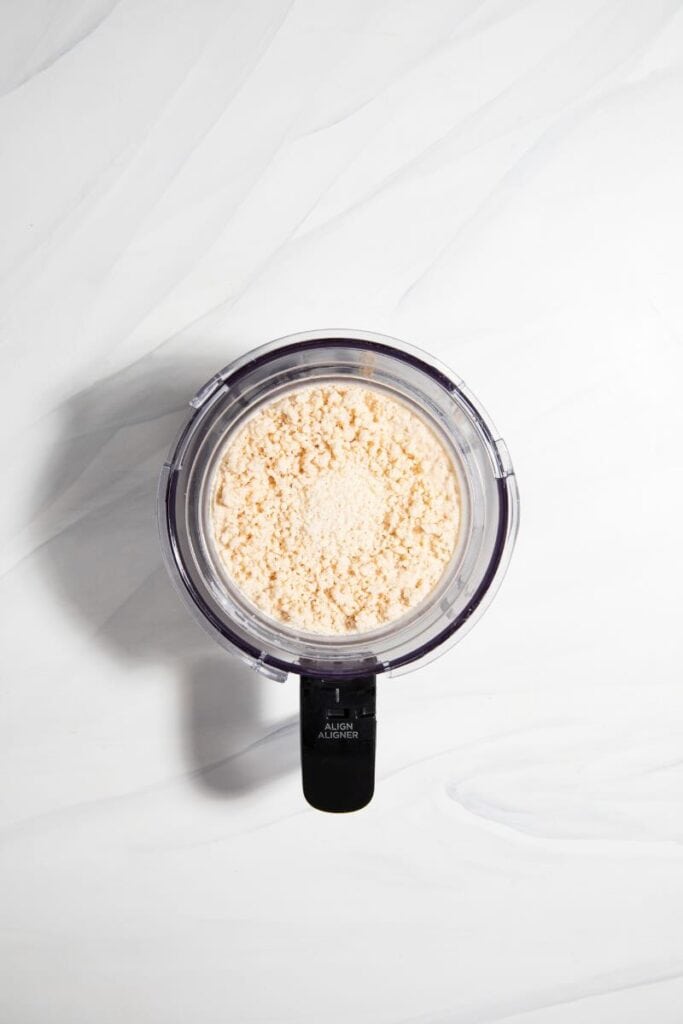
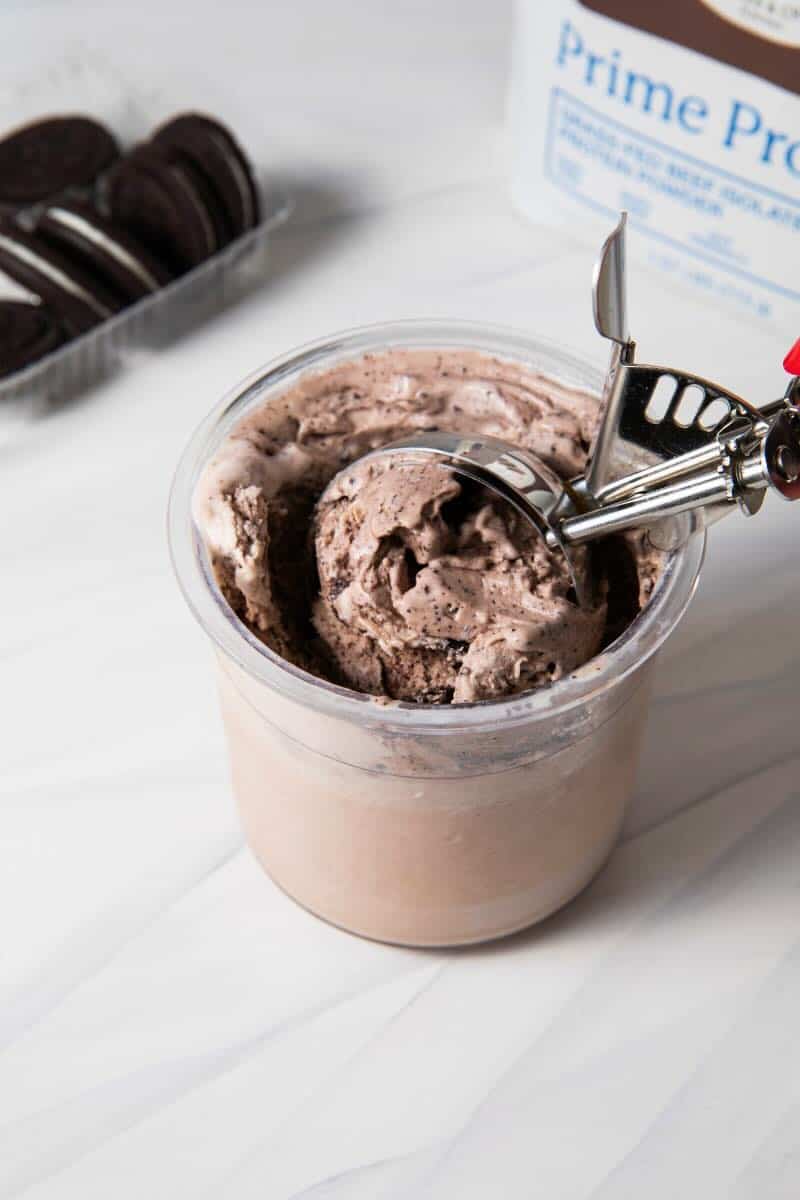
3. Mix the ice cream. Once the protein ice cream base is frozen, follow the instructions for placing the pint container in your Ninja Creami. For your first spin you will choose the "Lite Ice Cream" function.
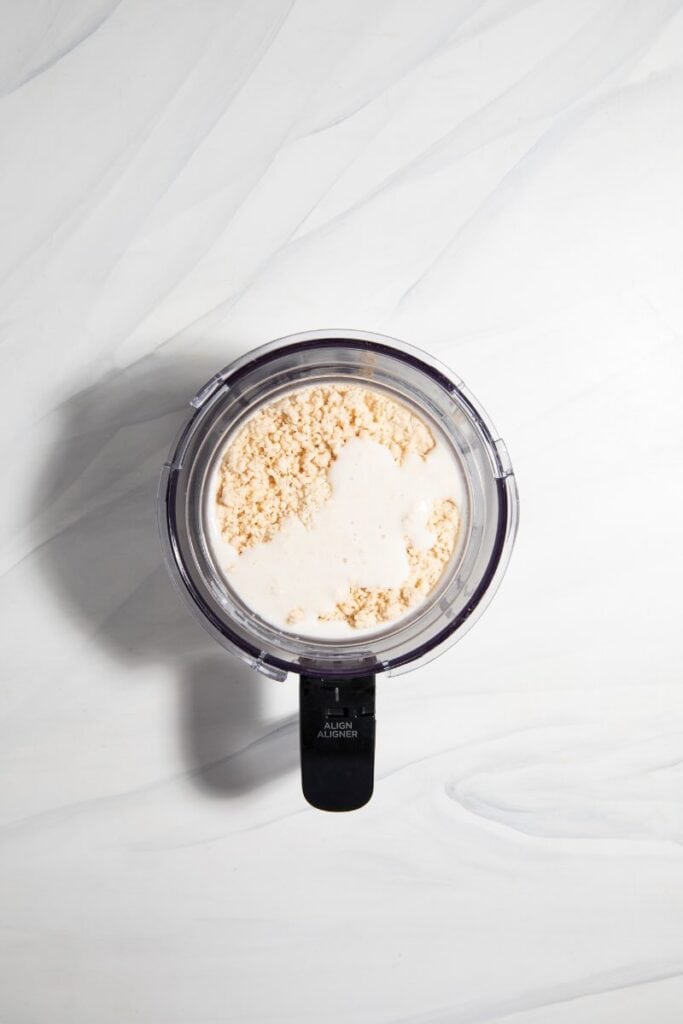
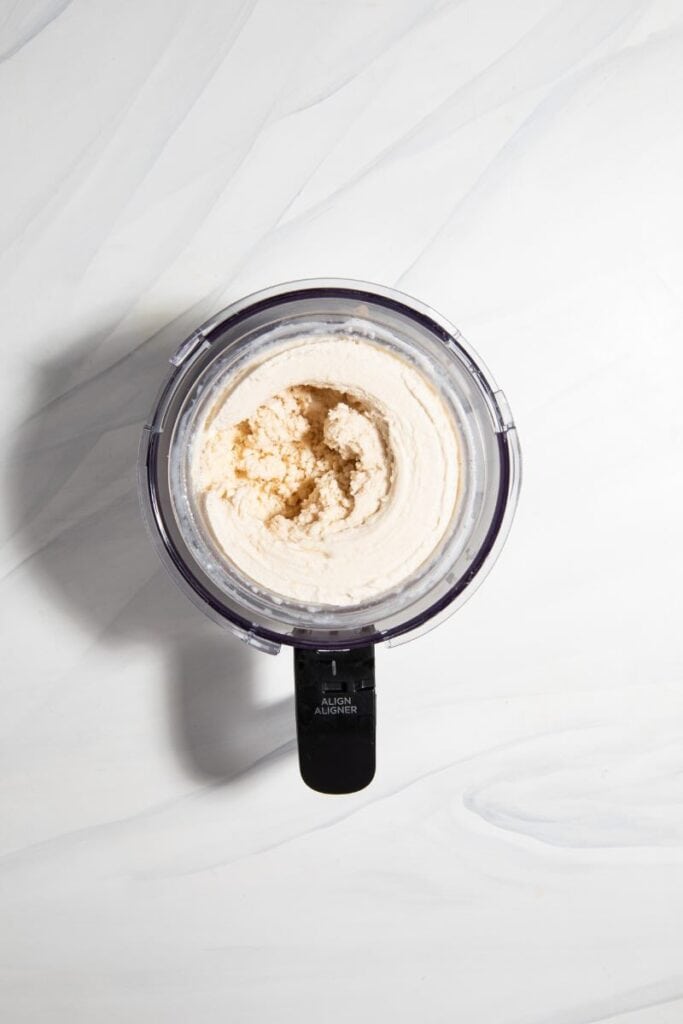
4. Respin. Once the first spin is complete, you will need to respin the ice cream mixture in order for it to become super creamy. My best creami prep tip is to add about 2-3 teaspoon additional almond milk, just enough to cover the top of the pint, before you respin.

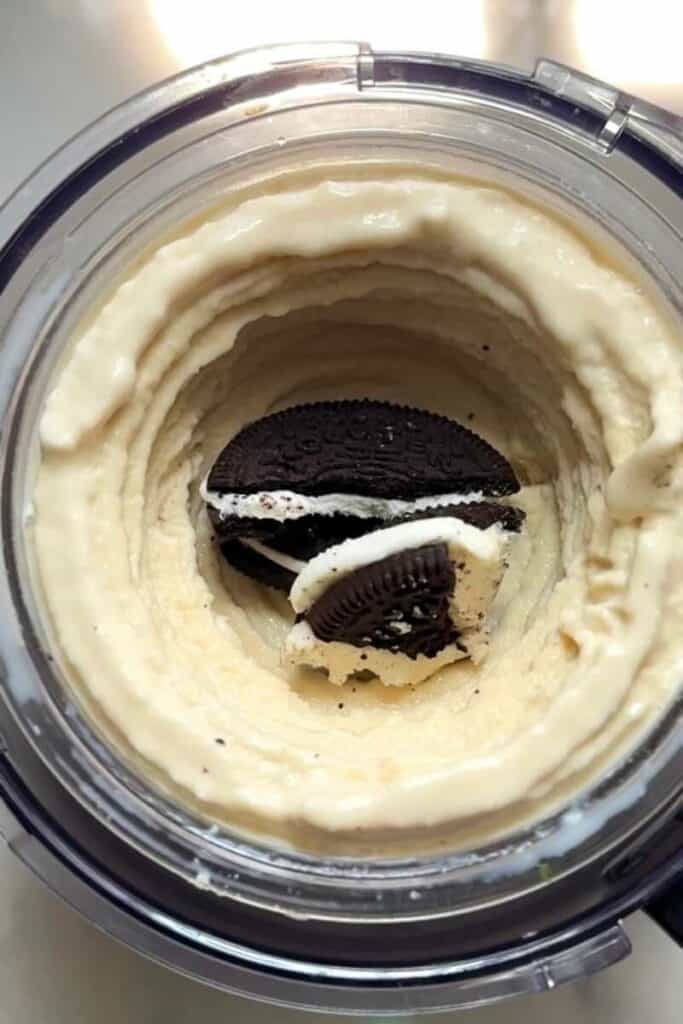
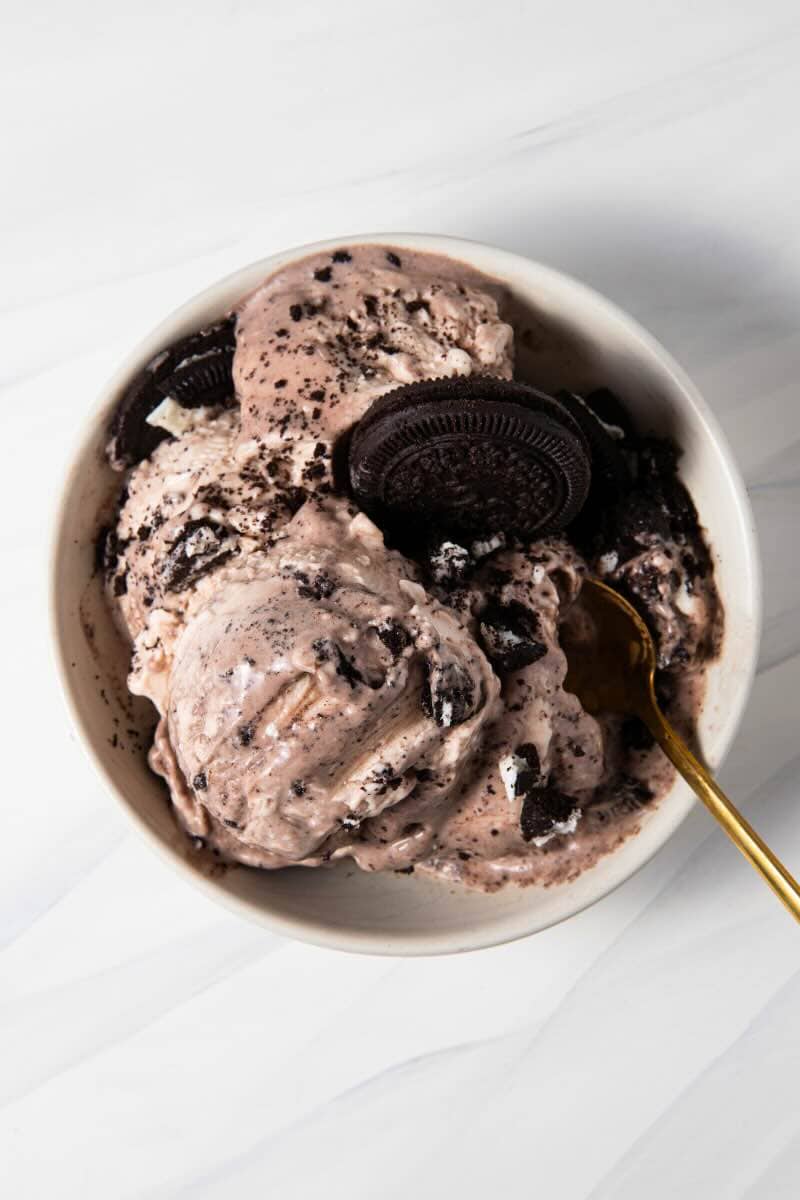
5. Add Oreos. Break Oreos up by hand and sprinkle on top of the ice cream base. Replace the lid, put the creami base back into the machine and press the “mix in” function to fully incorporate the cookies into the ice cream base.
Expert Tips, Tricks, and Favorite Mix-Ins
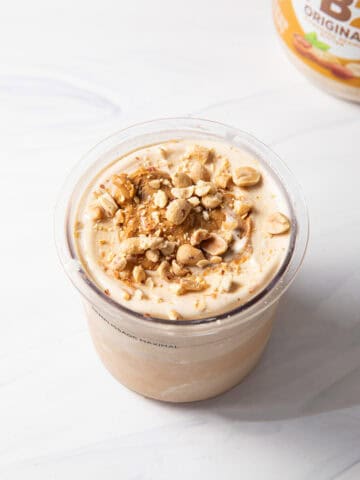
- Add natural peanut butter to the ice cream base for a delicious peanut butter Oreo flavored ice cream. One of my favorite ways to enjoy this ice cream, to be honest.
- Swap out the vanilla protein powder for chocolate and add 2 tablespoon of cocoa powder to make dairy free chocolate ice cream base. This swap makes my Ninja Creami Protein Chocolate Cookies and Cream.
- Ninja's instructions state that you cannot use the "respin" feature followed by the "mix in" feature. I ALWAYS respin my dairy free ice cream, because it needs this in order to be creamy, and I use the mix in function after with no trouble.
- Before respinning, I recommend always adding a little bit more almond milk, or dairy free milk of choice. Just enough to almost cover the top of the pint container is perfect, about 2-3 tsp. This will help ensure the final result is super creamy.
FAQs About Oreo Cookies and Cream Protein Ice Cream
Can I use a different type of milk instead of almond milk?
If you have an almond allergy or you just hate almonds, you can swap the almond milk out for a different milk like unsweetened oat milk, cashew milk, or even more coconut milk.
Do I have to use full-fat coconut milk?
I highly recommend sticking with the full-fat canned coconut milk! The fats from the milk are what give this dairy-free ice cream that rich, velvety texture we all love. It's not the end of the world to use low-fat coconut milk, but using a low-fat or "lite" version can result in a more icy, less creamy consistency once it’s spun.
Can I make this without a blender?
Since this recipe uses Medjool dates as a natural sweetener, a blender is pretty essential to get that base smooth and creamy. If you don't have a blender, you can swap the dates for 1-2 tablespoons of maple syrup and whisk the ingredients together vigorously in a bowl before freezing!
Why do I need to "respin" the ice cream?
Dairy-free Ninja Creami recipes can sometimes look a little crumbly or powdery after the first spin. This is totally normal. Adding a 2-3 teaspoons of almond milk and hitting "respin" is my secret trick to transforming that texture into the silky-smooth ice cream you see in the photos.
What do I do when my ice cream is still crumbly after a respin?
No worries! If it's still looking a bit dry, just add 2-3 teaspoons of almond milk and respin again. Sometimes the freezer temperature or the specific protein powder used can make it a little stubborn, but an extra respin always does the trick!
Can I use regular Oreos or do they have to be Gluten-Free?
You can use whichever cookies fit your dietary needs! Standard Oreos are actually vegan (fun fact!), but if you are Celiac or gluten-sensitive, the Gluten-Free Oreos work perfectly in the "mix-in" stage and taste exactly like the original.
Do I really have to wait 24 hours for it to freeze?
The Ninja Creami recommends 24 hours because the Ninja Creami blade needs the base to be completely solid to shave it into that creamy consistency. However, I am super impatient when it comes to my sweets so I don't wait the full 24 hours most of the time. I find 8 hours is usually the sweet spot, so if you are anything like me and don't want to wait to enjoy a sweet treat, go with the 8 hours. If you have the patience, freezing it overnight or up to 24 hours, will give you great results as well.
How To Store Oreo Cookies and Cream Protein Ice Cream
If you do not finish your pint in one sitting, smooth over the ice cream that is left in the container with the back of a spoon. Place the lid back on the pint container and freeze. You will need to run the leftovers back through the same steps in the Ninja Creami when you are going to enjoy it again. Note that because you added cookie mix-ins, the machine will end up pulverizing them on the next spin! It will turn into a delicious chocolatey cookie base, but you won't have the chunks anymore unless you add fresh cookies on a new mix-in spin.
More Protein-Packed Ninja Creami Recipes You Might Enjoy:
- Apple Pie Ninja Creami
- Peanut Butter Ninja Creami
- Strawberry Matcha Affogato Green Tea
- Ninja Creami Peach Protein Ice Cream
- Strawberry Cheesecake Ninja Creami
- Ninja Creami Cherry Berry Smoothie Bowl (DF)
- Ninja Creami Cherry Protein Sorbet
- Ninja Creami Protein Chocolate Cookies and Cream
Dairy Free Oreo Cookies and Cream Ninja Creami
Equipment
- 1 Blender
- 1 Ninja Creami Pint Container
Ingredients
- 1 cup almond milk
- ¾ cup full fat coconut milk
- 1-2 medjool dates or 1-2 tablespoon of maple syrup
- 1-2 tablespoon vanilla bean paste or vanilla extract
- 1 scoop cookies & cream protein powder
- 1 pinch celtic sea salt optional
- 2-3 oreos gluten free if needed
Instructions
- Make the ice cream base. Add the almond milk, coconut milk, dates, protein powder, vanilla, and sea salt to a blender. Blend until smooth. You may find that a few small bits of the dates remain if your blender is not high speed; this is ok. You can strain them out or leave them in, it's up to you.
- Freeze the ice cream base. Pour base into the ninja creami container right up to the max fill line. Place storage lid on the container and freeze for a minimum of 8 hours. Ninja recommends at least 24 hours but I don't have that kind of patience and find that 8 hours is plenty.
- Mix the ice cream. Once the base is frozen, follow the instructions for placing the pint container in your Ninja Creami. For your first spin you will choose the "Lite Ice Cream" function.
- Respin. Once the first spin is complete, you will need to respin the ice cream mixture in order for it to become super creamy. My best creami prep tip is to add about 2-3 tsp. additional almond milk, just enough to cover the top of the pint, before you respin.
- Add Oreos. Break Oreos up and sprinkle on top of the ice cream base. Replace the lid, put the creami base back into the machine and press the “mix in” function to fully incorporate.
- Enjoy. Grab a spoon and enjoy!
Notes
- Ninja's instructions state that you cannot use the "respin" feature followed by the "mix in" feature. I ALWAYS respin my dairy free ice cream, because it needs this in order to be creamy, and I use the mix in function after with no trouble.
- Before respinning, I recommend always adding a little bit more almond milk, or dairy free milk of choice. Just enough to almost cover the top of the pint container is perfect, about 2-3 tsp. This will help ensure the final result is super creamy.
- If you do not finish your pint in one sitting, smooth over the ice cream that is left in the container with the back of a spoon. Place the lid back on and freeze. You will need to run the leftovers back through the same steps in the Ninja Creami when you are going to enjoy it again. Note that if you added mix ins, the machine will end up pulverizing them!
Leave a Reply