Inspired by Ina Garten’s viral brownie pudding, this gluten-free version delivers the same crispy top and molten center you know and love without any tricky swaps. Serve it warm with vanilla ice cream and prepare for instant dessert bliss.
If you’ve ever watched Food Network and thought, “Ina Garten’s brownie pudding might actually be her best creation,” you think like me. I made a gluten-free version of the iconic Barefoot Contessa Back to Basics recipe, the one she created for Anna Pump and famously served for her 40th wedding anniversary, and honestly? It might be even better than regular brownies.
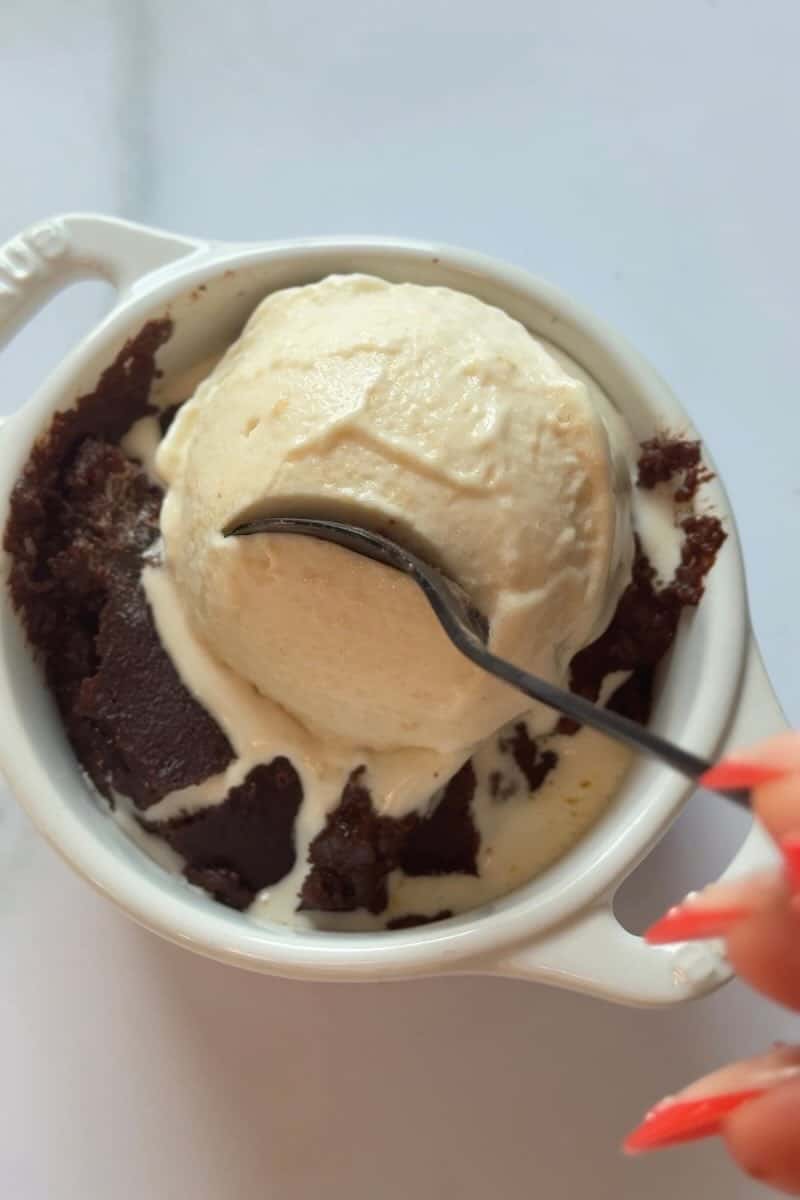
This recipe gives you that famous crispy top, molten gooey center, and rich chocolate flavor thanks to good cocoa powder, but with gluten-free flour that blends seamlessly into the batter. TikTok may make a lot of wild things go viral, but Ina’s brownie pudding earned every bit of its hype.
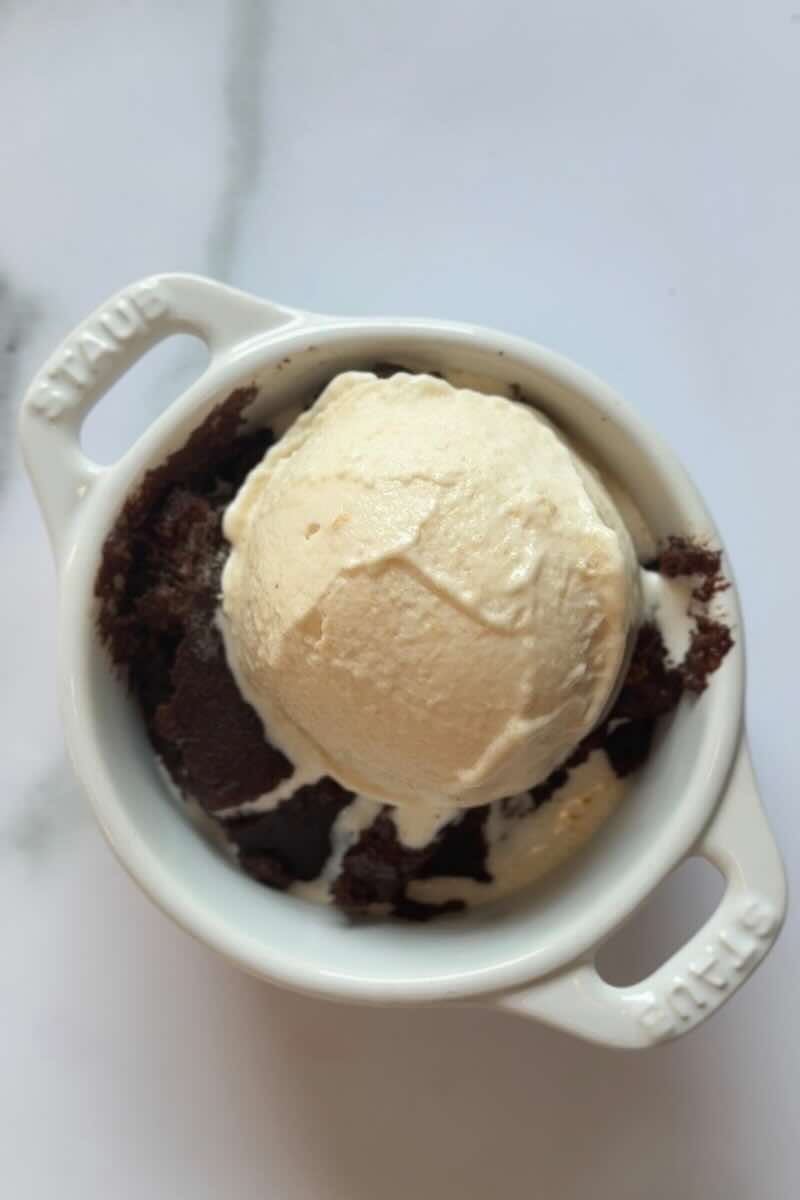
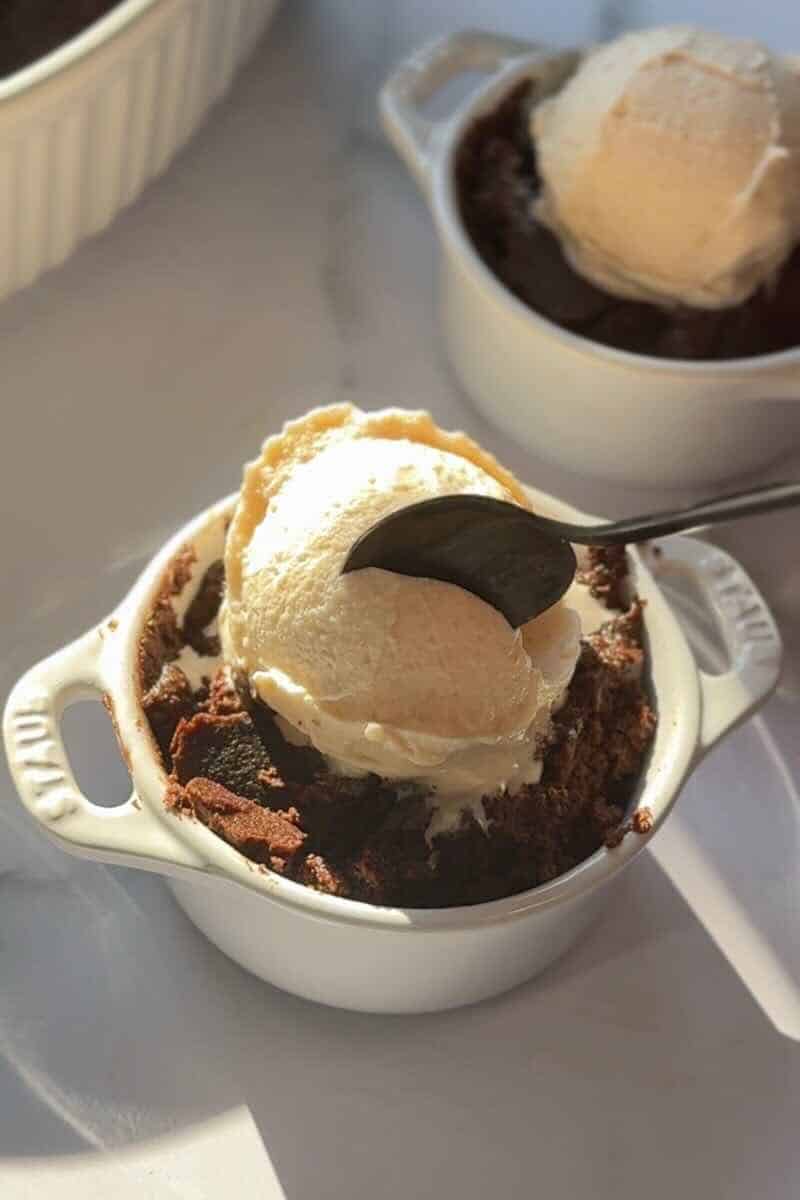
Serve it warm with a scoop of vanilla ice cream, and you’ll understand exactly why the internet lost its mind.
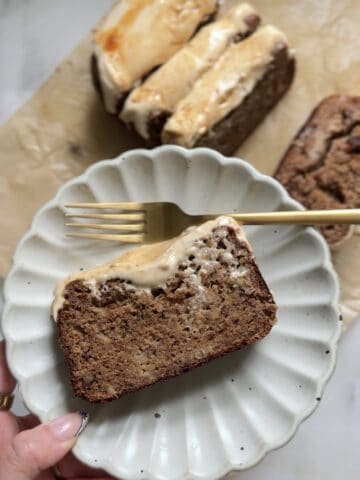
If you liked this simple dessert you might also enjoy this 2 ingredient oreo mug cake, chocolate cake mix mug cake, or these fudgy banana walnut brownies.
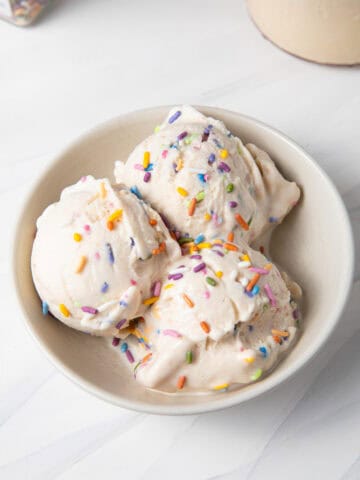
If you want a lighter option, top this fudgy brownie pudding with dairy free vanilla protein ice cream!
Or try these cute Valentine's Heart Brownies for another sweet Valentine's Day ready treat.
Why You'll Love This Recipe
- The texture is unreal. Think crispy edges, a jiggly center, and a spoonable brownie-meets-pudding situation you’ll crave forever.
- It’s secretly simple. A stand mixer, a water bath, and one oval baking dish are all you need — no fancy skills required.
- Foolproof gluten-free baking. Your gluten-free all-purpose flour mixture behaves just like all purpose flour, so you’ll never know the difference.
- Perfect for special occasions. This is the indulgent dessert for birthdays, anniversaries, dinner parties, or any night you need to satisfy a chocolate craving.
Please note this post contains affiliate links.
Brownie Pudding Ingredients & Tested Substitutions
Unsalted butter: Melt it fully, then cool it; cooled butter ensures the batter doesn’t scramble your eggs.
Large eggs: At room temperature so they whip into that pale, fluffy egg mixture that gives this its signature texture.
Vanilla extract or vanilla bean seeds: Either works, but the vanilla bean seeds add incredible depth. You can also use vanilla bean paste.
Granulated sugar: Gives you that glossy finish and helps create the crispy top. I tested this recipe using granulated monk fruit sweetener as well to experiment with a refined sugar free version. It works well but it needs a little more time to set than white cane sugar. I recommend putting it in the fridge for 10 minutes or so after allowing the pudding to come to room temp for best results.
Good cocoa powder: Don’t skimp! The chocolate flavor carries this whole recipe and a high quality unsweetened cocoa powder ensures the best flavor.
Gluten-free all-purpose flour: Any 1:1 blend works here but I like King Arthur or Bob's Red Mill. You only need a little bit, so texture stays fudgy.
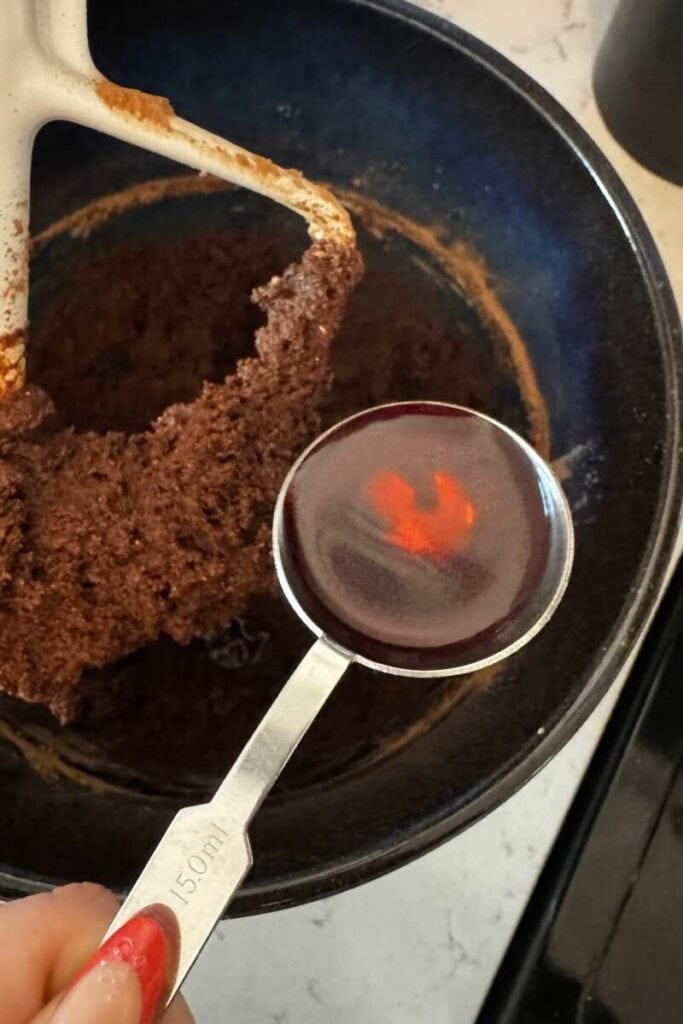
Raspberry liqueur: Totally optional, but Ina’s original recipe uses it. It adds a subtle berry note without tasting boozy.
Vanilla ice cream: Non-negotiable for serving.
Brownie Pudding Step by Step Instructions
1. Preheat your oven. Preheat to 325°F and generously butter a 2-quart oval or rectangular baking dish; set aside.
2. Melt the butter. Melt 1 cup unsalted butter in a small saucepan over low heat or in the microwave, then let it cool completely to room temperature.
3. Whip the eggs & sugar. In the bowl of a stand mixer fitted with the paddle attachment, beat the large eggs, sugar, and vanilla on medium-high speed for 5 to 10 minutes until very thick, pale yellow, and fluffy.


4. Mix the dry ingredients. Sift together the good cocoa powder, gluten-free flour, and salt, then add to the egg mixture on low speed just until combined.


5. Add flavor & butter. Add the raspberry liqueur (if using), then slowly pour in the cooled melted butter with the mixer on low speed and mix until smooth.

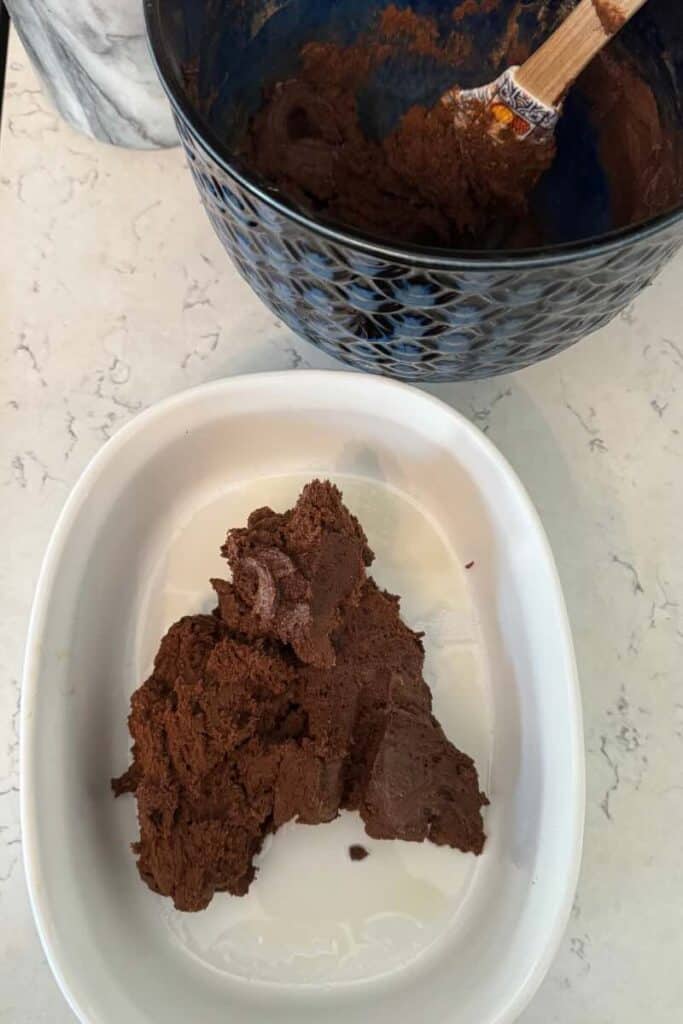
6. Prepare the water bath. Pour the batter into your prepared dish, nestle it inside a larger baking pan, and carefully pour hot tap water around it until it reaches halfway up the side of the dish, about 8 cups of water.

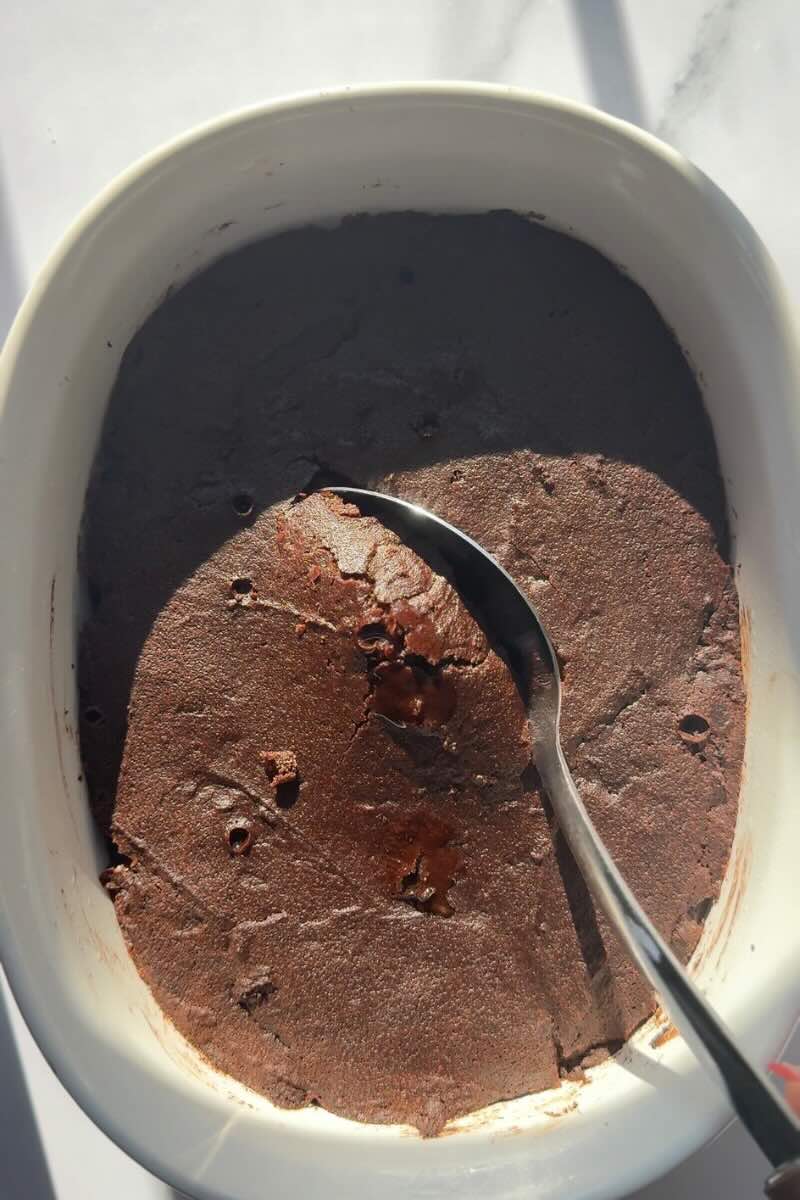
7. Bake. Bake for 55–60 minutes until the edges are set and slightly pulling away while the center remains jiggly; a cake tester should come out very moist.
8. Cool & serve. Let the pudding rest for 10–15 minutes, then scoop into bowls and serve warm with vanilla ice cream.
Expert Tips & Tricks
- Don’t skip the water bath it helps the center stay molten while the edges set.
- Whip the eggs longer than feels normal. This is the key to getting that signature crispy top and pudding-like center.
- Use good cocoa powder. With so few ingredients, quality matters.
- Make sure your butter cools fully. If it’s even slightly warm, it can deflate the whipped egg mixture and prevent that perfect gooey center.
- Use room-temperature eggs. Cold eggs won’t whip up into the thick, pale mixture that gives this dessert its structure.
- Don’t overmix once the dry ingredients go in. A few streaks are better than a dense, cakey texture. Mix just until everything looks incorporated.
- Bake it on the middle rack. Too close to the bottom and the water bath can overheat; too high and the top can overbrown before the center sets.
- Know what “done” looks like. The center should jiggle — if it looks fully set, you’ve gone too far and the pudding will lose its molten texture.
- Let it rest before serving. Those 10–15 minutes help the pudding settle just enough while staying warm and spoonable.
- Scoop, don’t slice. Treat it like a warm pudding, not a brownie. Digging in with a large spoon keeps that molten center intact.
Storage & Make Ahead Instructions
Store leftovers (if you have them!) in an airtight container in the fridge for up to 3 days. Reheat in the oven at low heat to revive the pudding texture.
You can bake it up to a few hours in advance. Rewarm gently before serving just don’t overbake or you’ll lose the gooey center.
Single Serve Brownie Pudding Instructions
½ large egg (lightly beat 1 egg, then measure out half)
50 g granulated sugar
¼ teaspoon vanilla extract
10 g unsweetened cocoa powder
10 g gluten-free all-purpose flour
Pinch of salt
30 g unsalted butter, melted
1. Preheat your oven. Preheat to 165ºC (330ºF) and lightly grease a small ramekin.
2. Whisk the egg & sugar. In a mixing bowl, whisk ½ egg with 50 g sugar until very pale, thick, and fluffy.
3. Add vanilla & dry ingredients. Whisk in ¼ teaspoon vanilla, then sift in 10 g cocoa powder, 10 g gluten-free flour, and a pinch of salt. Mix just until combined.
4. Add the melted butter. Stir in 30 g melted butter until the batter is smooth.
5. Set up the water bath. Pour the batter into the ramekin. Place the ramekin inside a larger baking dish and pour hot water around it until it reaches halfway up the sides.
6. Bake. Bake for 25–35 minutes, or until the top is set but the center still gives slightly when gently pressed.
7. Serve. Dust with icing sugar and enjoy warm for the perfect chewy top and fudgy, pudding-like center.
Did you have a chance to make this recipe? If so, please leave me a 5 star rating and review below. I always love and appreciate hearing from you!

Viral Ina Garten Fudgy Brownie Pudding Gluten Free
Ingredients
- 1 cup salted butter melted and cooled, plus extra for greasing
- 4 large eggs at room temperature
- 1 tablespoon vanilla extract or seeds from 1 vanilla bean
- 2 cups granulated sugar or granulated monk fruit, see note below
- ¾ cup good unsweetened cocoa powder
- ½ cup gluten-free all-purpose flour
- ¼ teaspoon salt
- 1 tablespoon raspberry liqueur optional, like Chambord or Framboise
- Vanilla ice cream for serving
Instructions
- Preheat your oven. Preheat to 325°F and generously butter a 2-quart oval or rectangular baking dish; set aside.
- Melt the butter. Melt 1 cup unsalted butter in a small saucepan over low heat or in the microwave, then let it cool completely to room temperature.
- Whip the eggs & sugar. In the bowl of a stand mixer fitted with the paddle attachment, beat the large eggs, sugar, and vanilla on medium-high speed for 5 to10 minutes until very thick, pale yellow, and fluffy.
- Mix the dry ingredients. Sift together the good cocoa powder, gluten-free flour, and salt, then add to the egg mixture on low speed just until combined.
- Add flavor & butter. Add the raspberry liqueur (if using), then slowly pour in the cooled melted butter with the mixer on low speed and mix until smooth.
- Prepare the water bath. Pour the batter into your prepared dish, nestle it inside a larger baking pan, and carefully pour hot tap water around it until it reaches halfway up the side of the dish.
- Bake. Bake for 55–60 minutes until the edges are set and slightly pulling away while the center remains jiggly; a cake tester should come out very moist.
- Cool & serve. Let the pudding rest for 10–15 minutes, then scoop into bowls and serve warm with vanilla ice cream.
Notes
Want a single serve version? See instructions in the post!
Expert Tips & Tricks
- Don’t skip the water bath it helps the center stay molten while the edges set.
- Whip the eggs longer than feels normal. This is the key to getting that signature crispy top and pudding-like center.
- Use good cocoa powder. With so few ingredients, quality matters.
- Make sure your butter cools fully. If it’s even slightly warm, it can deflate the whipped egg mixture and prevent that perfect gooey center.
- Use room-temperature eggs. Cold eggs won’t whip up into the thick, pale mixture that gives this dessert its structure.
- Don’t overmix once the dry ingredients go in. A few streaks are better than a dense, cakey texture. Mix just until everything looks incorporated.
- Bake it on the middle rack. Too close to the bottom and the water bath can overheat; too high and the top can overbrown before the center sets.
- Know what “done” looks like. The center should jiggle — if it looks fully set, you’ve gone too far and the pudding will lose its molten texture.
- Let it rest before serving. Those 10–15 minutes help the pudding settle just enough while staying warm and spoonable.
- Scoop, don’t slice. Treat it like a warm pudding, not a brownie. Digging in with a large spoon keeps that molten center intact.
- Refined sugar free option. I tested this recipe using granulated monk fruit sweetener to experiment with a refined sugar free version. It works well but it needs a little more time to set than white cane sugar. I recommend putting it in the fridge for 10 minutes or so after allowing the pudding to come to room temp for best results.
Storage & Make Ahead Instructions
Store leftovers (if you have them!) in an airtight container in the fridge for up to 3 days. Reheat in the oven at low heat to revive the pudding texture. You can bake it up to a few hours in advance. Rewarm ge
Leave a Reply